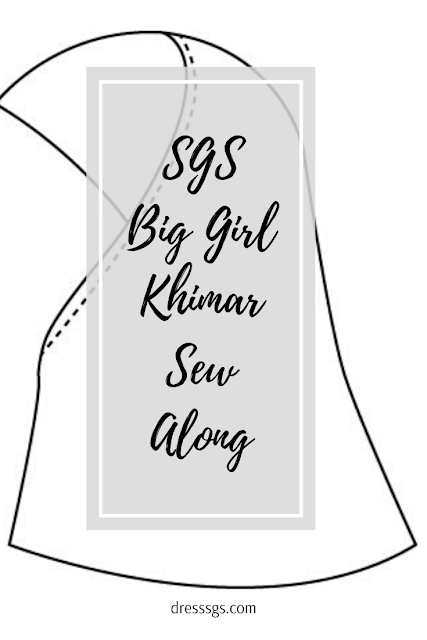
1900 Khimar Sew Along - PDF Sewing Pattern
Welcome to my Khimar sew-along. This pattern is a very easy pattern to sew and I would recommend it for the beginner seamstress. Before printing your pattern make sure your print settings DO NOT scale the pattern. Print the first page of the pattern first and measure the test square to check if you are printing it correctly. This pattern is a trimless pattern so we don't need to do any cutting of the paper after it has printed.
To assemble, match the right page up to the red line on the previous page. After the second row continue this pattern while also lining up the top of the page to the red line on the row above. The pattern is made up of 3 rows of three pages.
Once fully assembled your pattern should look like this. The slight angles on the left side of the khimar cap are normal and will not affect the completed khimar.
You will only need 3/4 of a yard of knit fabric, thread, pins and a sewing machine.
You will lay your Khimar pattern out as shown below. Make sure piece "A" is placed on the fold and piece "B" will only need to be cut from one layer.
After cutting out your khimar, with piece "A" still folded mark the upper back center point with a pin.
Fold piece "B" lengthwise with wrong sides together and stitch the round edge close using a 1/2 seam allowance.
If you have a serger/overlocker you can finish this edge.
Fold the cap in half again to find the center of the cap.
Use a pin to mark this point on the curved sewn edge, not the fold.
Now match the pin in the center of the piece "A" to the pin in piece "B" with the right sides together. Stitch using a 1/2 inch seam allowance
With the right sides together stitch the center front seam using a 1/2 inch seam allowance.
Fold back the raw edge of the top of the khimar and pin. From the right side of the khimar stitch in place making sure to stitch the cap seam in place.
The outside of your khimar should look like this.
Finally, hem your khimar, I like to sometimes use some of the decorative stretch stitches that come with my machince but it is not necessary.
Enjoy your new Big Girl Khimar
Tag me on Instagram @secretgardenstudio and show me your makes.
Until next time, happy sewing...


Comments
Post a Comment